.png?width=50&name=Untitled%20design%20(73).png)
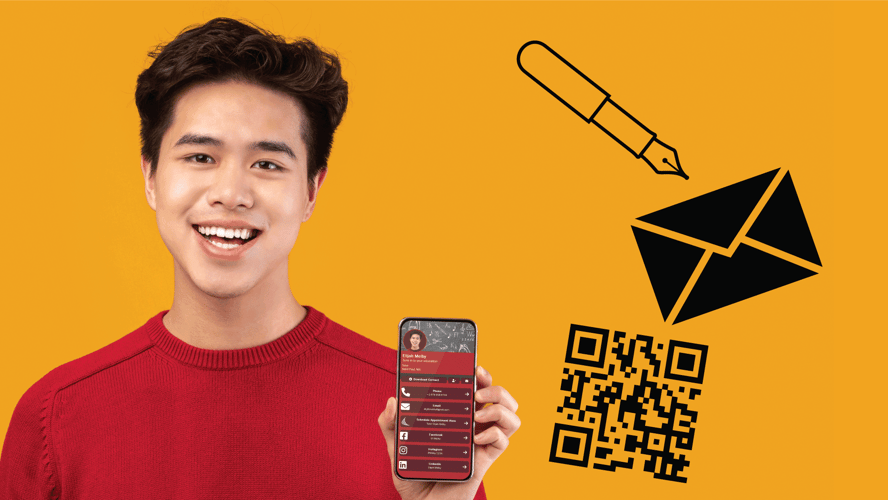
What does your standard business card do for you? Sure, you can hand it off to a client in a...

%20(1).png)
The process of generating a profile is as easy as signing up!
When adding the optional information to your profile, it will become accessible by clicking the dots beneath the profile’s header. To edit this information, click the pen icon next to your name on the profile to add whatever information you chose! This information can include:
Adding this information is entirely up to you, but it can help round out your card with a personal touch.
Simple Redirect
At the very top of your settings page, there is a drop-down menu titled “Page Type”. This feature allows you to chose whether to have your links and NFC Cards send clients and customers to your profile, or directly to a link of your choosing. To direct your clients to your website or other important links, click “Simple Redirect in that menu, add your desired URL, and click ”Save Changes“!
Now that your card can tell clients and customers a little bit about you, let’s get into the specifics.
So now you’ve got a BitSignal account! But the coolest thing about having a BitSignal account is the ability to share your information with a physical NFC card that has been paired to your profile. With a tap to an NFC-enabled phone, an NFC card can both upload your contact information directly as a contact, or direct clients and customers to your profile and up-to-date information.
So how do you do it? It’s easy!
Now that the account is created, it’s time to personalize and fill it with your brand! A great place to start would be adding a profile picture; click the profile icon and add an image!
Note: You can remove your profile image and make your banner the front-and-center image on your profile! You do this by clicking on the profile icon and clicking ‘Remove’ instead of ‘Apply’.
The next step is actually customizing the look of your own profile. Click the theme button at the top of the profile or the edit icon on the banner image, and your screen should show you the options for choosing your own theme. This can be as easy as picking one of our five default themes, but keep in mind the default themes cannot be edited or changed, including the ability to change the banner.
The other option is to create your own theme, and this is where you can let your creativity or your brand (or both) shine! Select the “New Theme” option under the “Your Designs“ section, and begin editing!
Here are the main factors in theme creation:
Creating your custom buttons is the most important step when creating your BitSignal profile; these buttons are what will link your clients and customers to your information, websites, social profiles, etc. Your first button will already be created when you first see your profile, a button linking to the email you signed up with. Of course, this can be removed or changed at any time.
When creating your first button, you first have the option to choose what to link to. The options are:
Once your choice has been made, you can give it a label if you’d like to make it easier to find on the profile.
Add your information or link, choose an icon to represent it from over 1600 different icons, make sure you love the way it looks by checking the preview button, and it’s as easy as that! Your button is complete, and your clients and customers can start using your button to view your links and personal information.
Add up to 5 buttons on your free profile, and with the Pro, Teams, and Enterprise subscriptions, you can create unlimited buttons to send your clients to everything they’ll need to get to know you.
So what happens if they want to reach you?
Then let's set up messaging! Messaging is an entirely optional feature but is set to active by default. If you’d like to customize your messaging options or disable the messaging feature entirely, let’s go through those options here:
First, click the messaging tab at the top of your settings page.
At this point, if you’d like to deactivate the messaging feature, click the check box next to “Enable Messaging” to uncheck it and click “Save”. Otherwise:
Fill in the email you’d like the messages to be forwarded to.
Here, you can also update your greeting! When people click to message you on mobile or visit your profile on desktop, this will be the text displayed indicating that messages are available to be sent. Add whatever you like here, or leave the default greeting, “Contact Me!”.
Click save, and your messaging will be fully ready!
Now that you’ve got messaging perfectly customized to your account, click the envelope icon in the top right corner to view your BitSignal inbox!
In your BitSignal inbox, you can view your inbox and messages, contacts, sent messages, and trash, as well as composing and sending new messages. Now, your business card has a fully functioning messaging system!
Note: Scheduling is a Pro, Teams, and Enterprise Subscription Tier exclusive feature.
Next, let’s set up scheduling. Your digital business card is made for networking: sharing links, messaging, etc. Now, let’s help your BitSignal profile set appointments! Unlike, messaging, scheduling is not enabled by default, so here’s how to set it up:
Now that your BitSignal account is fully created and customized, it’s time to share it with people, and monitor its performance! Head over to the Signal Strength tab on the settings page, and there you’ll find your personalized link and QR Code. Click the clipboard next to the link to copy it or click “Download QR“ to take either one.
Add them to your website, your social profiles, your email signature, your products, or wherever else your clients and customers might find you!
Under Analytics, in the free tier, you have access to the number of downloads and card views your profile has received since it’s creation. Under the Pro, Teams, and Enterprise Tier, you gain access to analytics pertaining to the performance of your custom buttons.
Business cards are often used to find potential clients and customers, but we can help you set up your Digital Business Card to help you find jobs too! Adding your resumé to your BitSignal profile is the first step, but you can optimize your BitSignal profile to be perfect for potential employers. Here’s how to set it up:
Your resume, if shown publicly, will appear in the drop-down bio on your profile. Add skills to your bio as well to pad your profile out! When employers look for potential new hires, they will be able to search by your provided zip code and the skills you list, so adding them can be beneficial. There is also an option to opt out of showing your skills publicly on your profile, so your Digital Business Card can still look exactly how you want it to while helping you find your next job.
Now that your card is complete, your clients are going to use it in a number of ways to get your important information. We’re going to walk you through your card uses here, and give you a few ideas about how to present and share your information in the best way possible.
Sharing your BitSignal profile can be done in many ways, including the ways mentioned above (i.e. NFC Card, custom QR Code, custom link, etc.), but there is one other way to share your profile:
And there you have it! You now have a fully branded and customized digital business card, and instead of ordering new cards, all you need to do is log back on to update it should any of your information need changing. The only final step is to make sure you have a card with which to transfer your digital business card to your clients’ phones.
If you need an NFC card, there is a link at the bottom of your profile to order your business cards! There are plenty of designs to choose from, and once your card is programmed, you can start sending your digital cards right to your clients.
There are also a few pro features we have discussed here, and you should already be able to see them in your settings tabs as well. If you are interested in upgrading your BitSignal account to Pro, or if you are interested in trying out Enterprise tier throughout your whole business or Teams for a department, group, or small to mid-sized business, check out the pricing and additional features here.
So get started building your digital business card today! Head over to https://mybitsignal.com/ and start sending your information right to your clients’ phones with ease.